This script only can be run on MacOS using Laravel Valet or in web server VPS, it will not work in windows localhost.
here is details documentation of Installation of Valet https://laravel.com/docs/9.x/valet
you need mysql as database here is full article for installation it Installing PHP and MySQL with HomeBrew for Laravel Valet
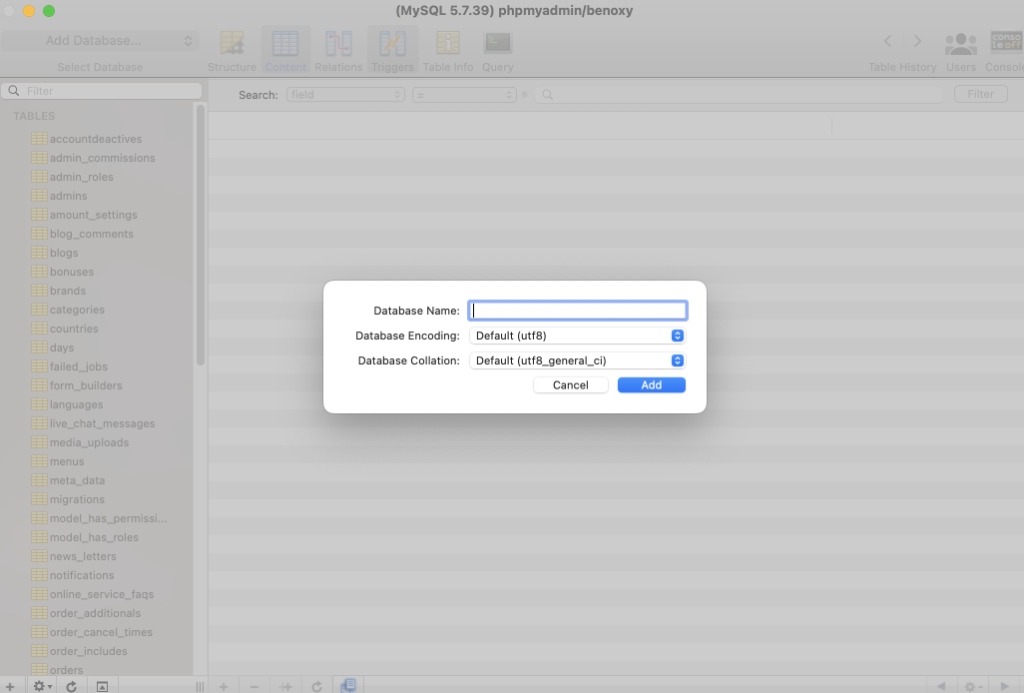
After install and enable valet you need to create a database for the script, for handle database you can use SequelPro.
create a database

copy script installation file to your valet linked directly and unzip it

after unzip remove -v1.0.0 from the folder name

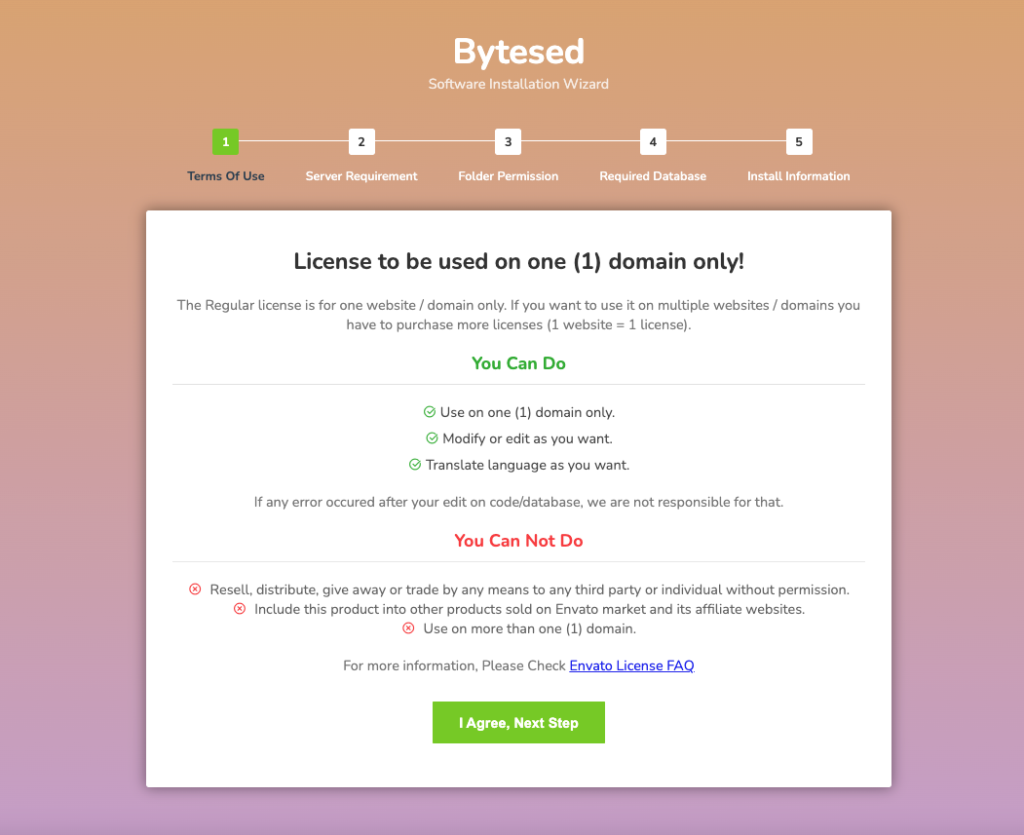
open browser with multisass.test, it will redirect you to install wizard like below picture

now click on “i agree, next step” button

make sure you have all the icon green, if you see anything in red color, then you have to install that php extension or have to increase you php version. now click next

make sure you have give folder permission to those folder 0755. if you are not familiar with permission you can contact our support or your hosting provider. now click next

this step make sure you have database required for the installation, click next
NT: Enter your Mysql user name as root and enter root password, otherwise the system will not able to create database automatically for tanants,

fill all the field with database username, database name, database username password. . once all input data is complete click on install now button.

NT: Now you have to setup wildcard for subdomain. so that system can connect with subdomain automatically. here is few article that help you to setup wildcard subdomain
- Setup Wildcard Subdomain in DirectAdmin
- Setup Wildcard Subdomain in Cpanel
- Setup Wildcard Subdomain in AaPanel
- Setup Wildcard Subdomain in Plesk
- Setup Wildcard Subdomain in WebControlPanel
- Setup WildCard Subdomain in DigitalOcean
NT: You have to setup cron job to make sure subscription system work properly and check tenant package expiration properly
- setup cron job for Cpanel based hosting
- setup cron job for Direct admin
- setup cron job for Plesk
- setup cron job for DigitalOcean
if you see this screen, that mean your installation process is done. if you face any issue with installation please contact our support.

