if you are using local development, then it’s recommended to install the script manually. we will guide you in this article step by step about manual install.
Step : 01
Download file from codecanyon and extract in your pc and you will get 03 folder. Listed below
- Documentation
- Installable File
- Update

Now Open installable folder, you will get a zip file. you have to upload it to your server using ftp or file manager.

Step : 02
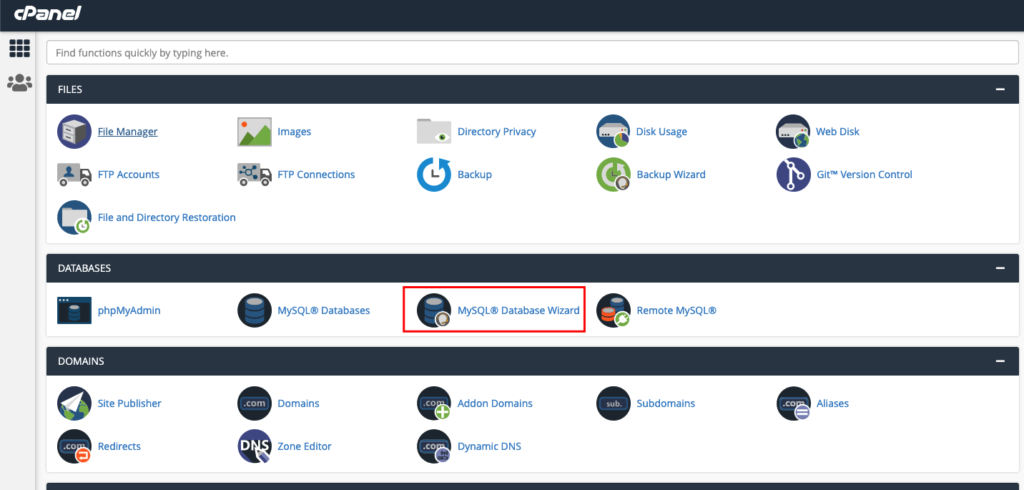
01. Now login to you cpanel and go to > MySQL® Database Wizard
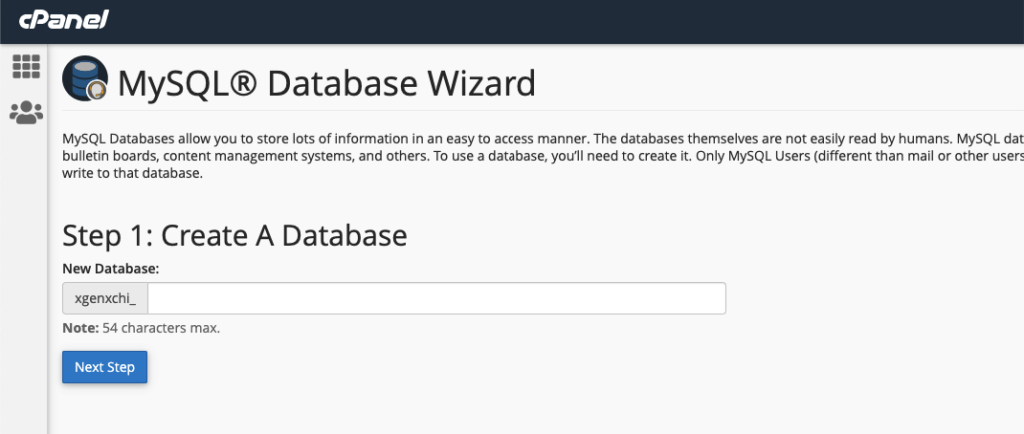
02. create database
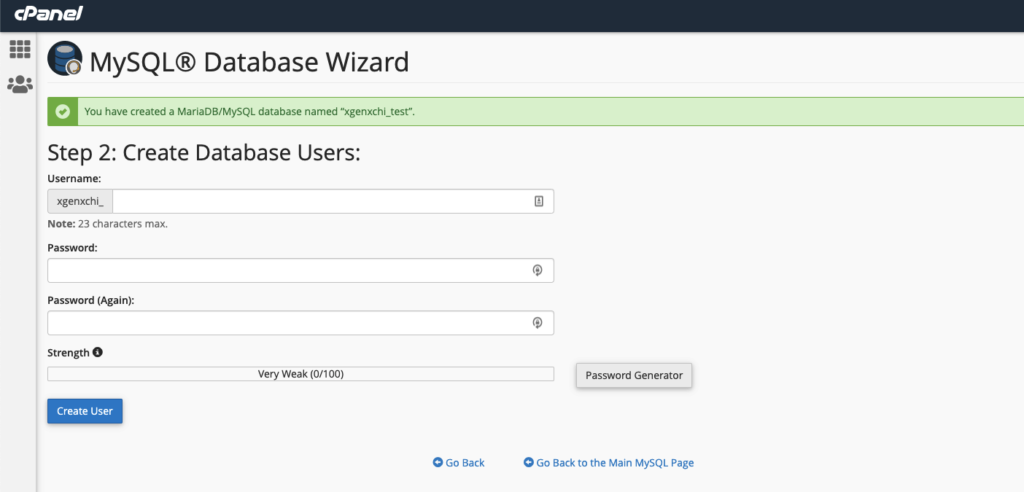
03. Create Database Users, do not forget to keep you database user password, we will need this while we run installation wizard.
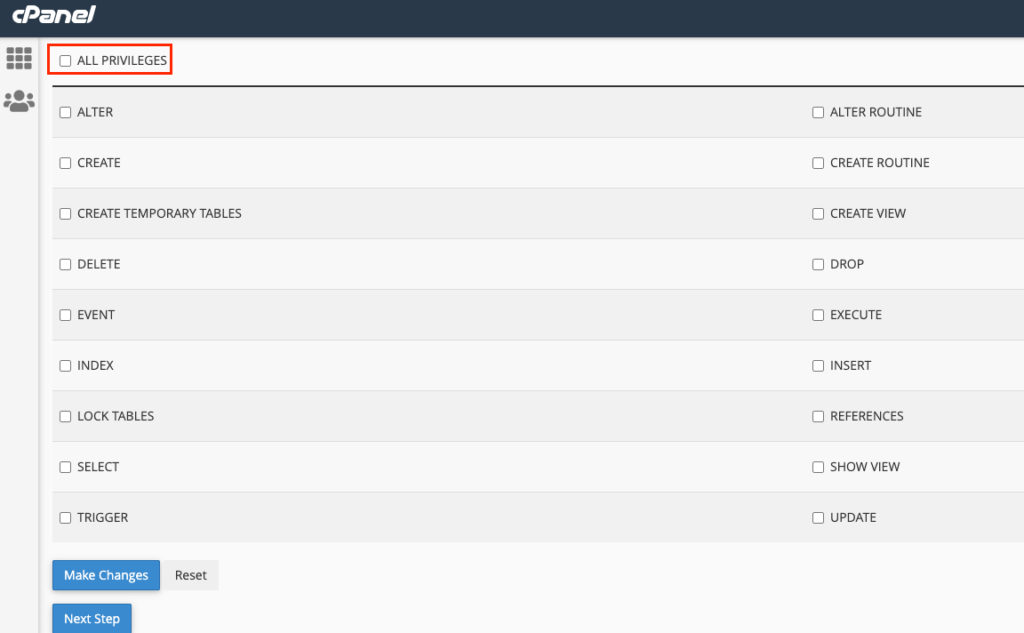
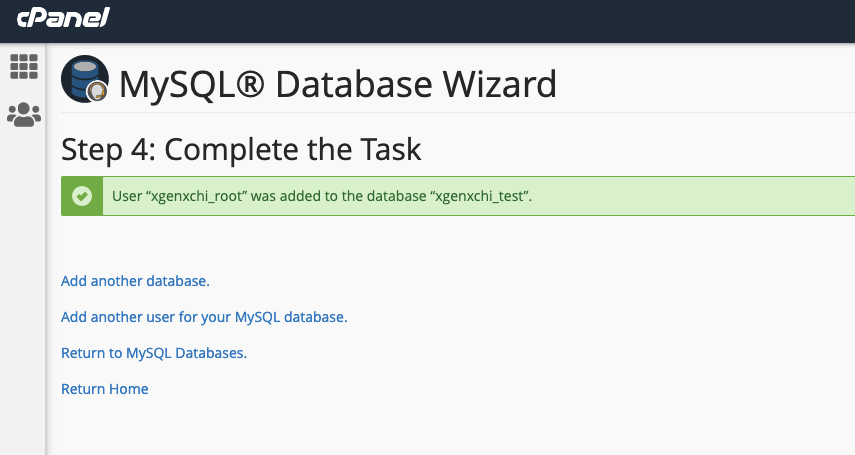
04: Add user to the database. check all privileges and click make changes. then click “Next Step”
database create is done, keep database user, database name, database password in a note.
05. now you have to import script database to your newly created database. go to phpmyadmin

06. you will find a database in “Install>database.sql” in downloaded file, import the database into your created database
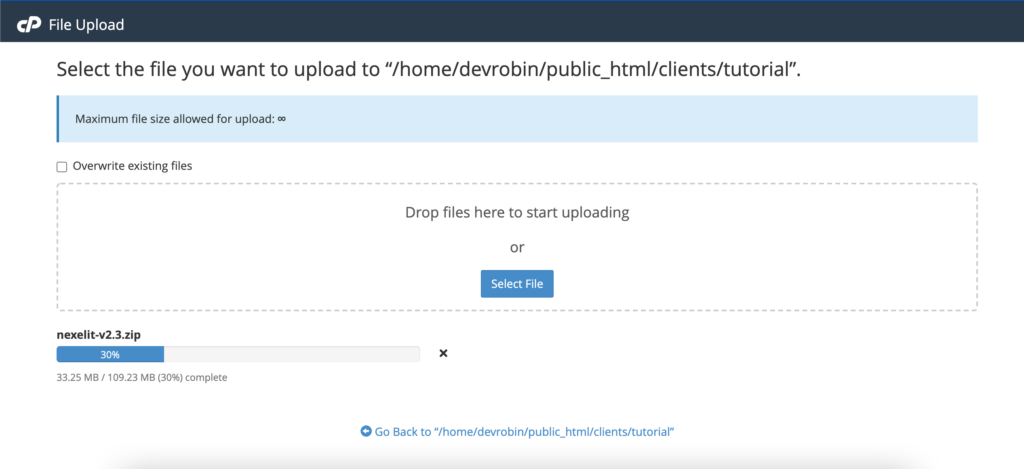
07. Upload installable file to server
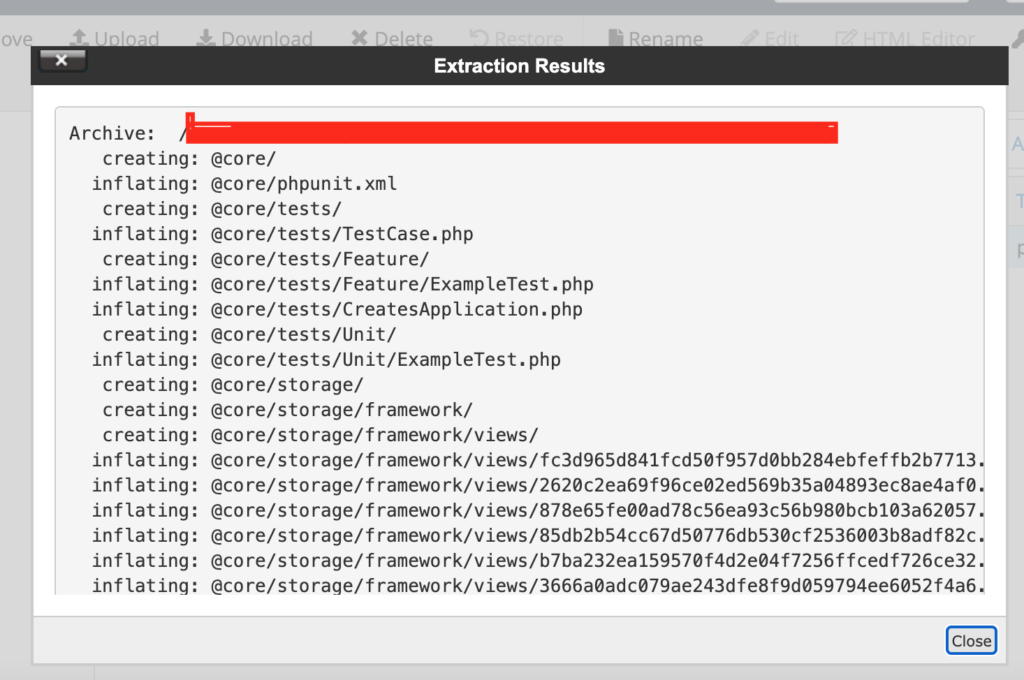
08. unzip the installable file to server
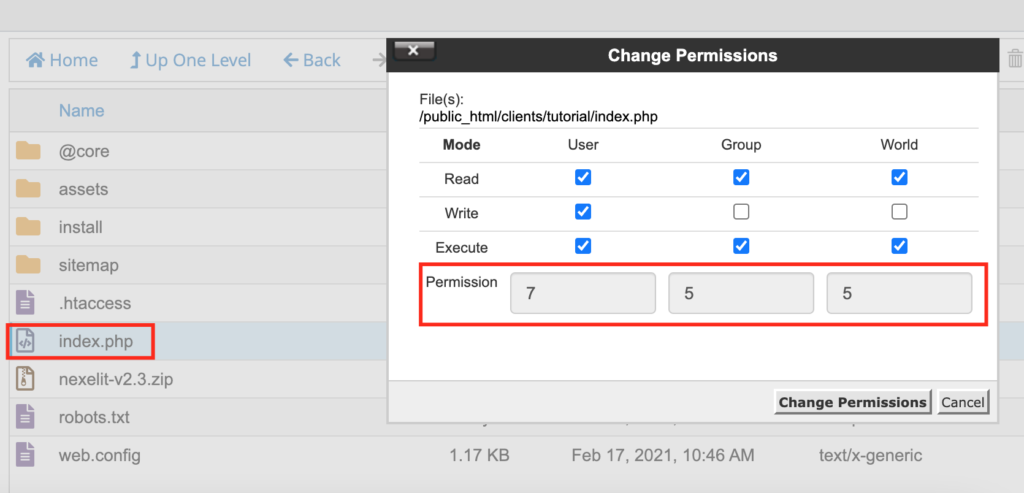
09. Check Permission of index.php file, make sure it’s file permission to 0755
10. now go to “@core” folder open “.env” file. if you did not see .env file, then copy env-smaple.txt content from install folder and make a new file .env paste all the content.
11. change database details with yours, for more info you can check Laravel database documentation
NT: Enter your Mysql user name as root and enter root password, otherwise the system will not able to create database automatically for tanants,
DB_CONNECTION=mysql
DB_HOST=YOUR_DATABASE_HOST
DB_PORT=3306
DB_DATABASE=YOUR_DATABASE_NAME
DB_USERNAME=YOUR_DATABASE_USERNAME
DB_PASSWORD=YOUR_DATABASE_PASSWORD
12. save the file once your database configuration is done.
Last Step: Now you have to setup wildcard for subdomain. so that system can connect with subdomain automatically. here is few article that help you to setup wildcard subdomain
- Setup Wildcard Subdomain in DirectAdmin
- Setup Wildcard Subdomain in Cpanel
- Setup Wildcard Subdomain in AaPanel
- Setup Wildcard Subdomain in Plesk
- Setup Wildcard Subdomain in WebControlPanel
- Setup WildCard Subdomain in DigitalOcean
13. your installation is done, now go to the website and check it, it should work fine, if you see it still not working, then clear your browser cache, contact support for any issue.

